I’ve made honey chilli potatoes more times than I can count—on busy restaurant nights, at pop-up street food events, and even in my own kitchen when I want something indulgent yet comforting. Over the years, I’ve refined my approach to get that perfect balance: crispy potatoes that stay crunchy, a glossy sauce that clings just right, and a flavor profile that hits sweet, spicy, tangy, and savory all at once.
In this article, I’ll walk you through exactly how I make honey chilli potatoes, sharing not just the steps but also the small decisions and techniques that elevate this dish from good to unforgettable.
My Philosophy Behind Honey Chilli Potatoes
Before diving into ingredients and method, let me explain how I think about this dish.
Honey chilli potatoes are often treated as simple Indo-Chinese street food, but when made thoughtfully, they become something much more refined. The key lies in contrast:
- Texture: ultra-crispy outside, soft inside
- Flavor: sweetness from honey, heat from chilli, acidity to balance
- Coating: light yet sticky glaze—not soggy, not dry
Every step I follow is designed to protect these contrasts.
Ingredients I Use
I keep the ingredients simple but intentional. Here’s what I typically use:
For the Potatoes:
- 4–5 medium potatoes (I prefer starchy varieties)
- 3–4 tablespoons cornflour
- 2 tablespoons all-purpose flour
- Salt to taste
- Oil for frying
For the Sauce:
- 2 tablespoons oil
- 1 tablespoon finely chopped garlic
- 1 teaspoon finely chopped ginger
- 2–3 green chillies (slit or chopped)
- 1 small onion (sliced into petals)
- 1 small capsicum (sliced)
- 2 tablespoons soy sauce
- 1 tablespoon red chilli sauce
- 1 tablespoon tomato ketchup
- 2–3 tablespoons honey (adjust to taste)
- 1 teaspoon vinegar
- ½ teaspoon black pepper
- Salt (very carefully, since sauces already contain salt)
For Garnish:
- Spring onions (chopped)
- Sesame seeds (optional but recommended)
Step 1: Choosing and Cutting the Potatoes
When I’m making this dish, I pay attention right from the selection of potatoes. I prefer potatoes that are slightly starchy because they crisp up better.
I peel them and cut them into medium-thick batons—think of slightly thicker French fries. If they’re too thin, they’ll overcook and lose structure. Too thick, and they won’t crisp properly.
Consistency matters. I make sure all pieces are roughly the same size so they cook evenly.
Step 2: Removing Excess Starch
This is a step many people skip, but I never do.
After cutting, I soak the potatoes in cold water for about 20–30 minutes. This removes excess surface starch, which helps prevent them from sticking together and improves crispiness.
Once soaked, I rinse them once more and then dry them completely using a kitchen towel. Moisture is the enemy of crisp frying, so I take this step seriously.
Step 3: Parboiling (My Secret to Perfect Texture)
Here’s one technique I swear by: I lightly parboil the potatoes before frying.
I bring a pot of salted water to a boil and cook the potato batons for about 3–4 minutes—not fully cooked, just slightly tender on the outside.
Then I drain them and let them cool completely.
This step ensures:
- The inside becomes soft and fluffy
- The outside can crisp up beautifully when fried
Step 4: Coating the Potatoes
Once the potatoes are dry and cool, I toss them in a mixture of cornflour, all-purpose flour, and a pinch of salt.
I don’t add water here. The slight moisture from the potatoes is enough to help the coating stick.
The cornflour is what gives that signature crispiness, while the flour adds structure.
I make sure each piece is lightly and evenly coated—no thick batter, just a thin layer.
Step 5: Frying to Golden Perfection
I heat oil in a deep pan or wok. The oil needs to be hot but not smoking.
I fry the potatoes in batches—never overcrowding the pan. This ensures they cook evenly and stay crisp.
The first fry is done on medium heat until they turn light golden.
Then I remove them and let them rest for a few minutes.
For extra crispiness, I often do a second fry on slightly higher heat. This gives that irresistible crunch that holds up even after tossing in sauce.
When done, I place them on a rack or paper towel to drain excess oil.
Step 6: Preparing the Sauce
Now comes the heart of the dish—the sauce.
I heat a wok on medium-high flame and add a couple of tablespoons of oil. Once hot, I add chopped garlic, ginger, and green chillies.
The aroma at this stage is crucial—I sauté just until fragrant, not browned.
Next, I add sliced onions and capsicum. I cook them on high heat for a couple of minutes. I want them slightly tender but still crunchy.
Then I add:
- Soy sauce
- Red chilli sauce
- Tomato ketchup
I stir quickly, letting the sauces combine and slightly caramelize.
Now comes the balancing act: I add honey. I always taste as I go, adjusting depending on how sweet or spicy I want the final dish.
A splash of vinegar goes in to cut through the sweetness and bring brightness.
I finish with black pepper and a quick taste check.
Step 7: Bringing It All Together
This is the final and most important step.
I add the fried potatoes directly into the wok with the sauce.
Then I toss everything quickly on high heat.
Timing is critical here. I don’t overmix or cook too long, or the potatoes will lose their crispiness.
I want just enough tossing for the sauce to coat each piece in a glossy layer.
If needed, I add a tiny splash of water to loosen the sauce—but only a little.
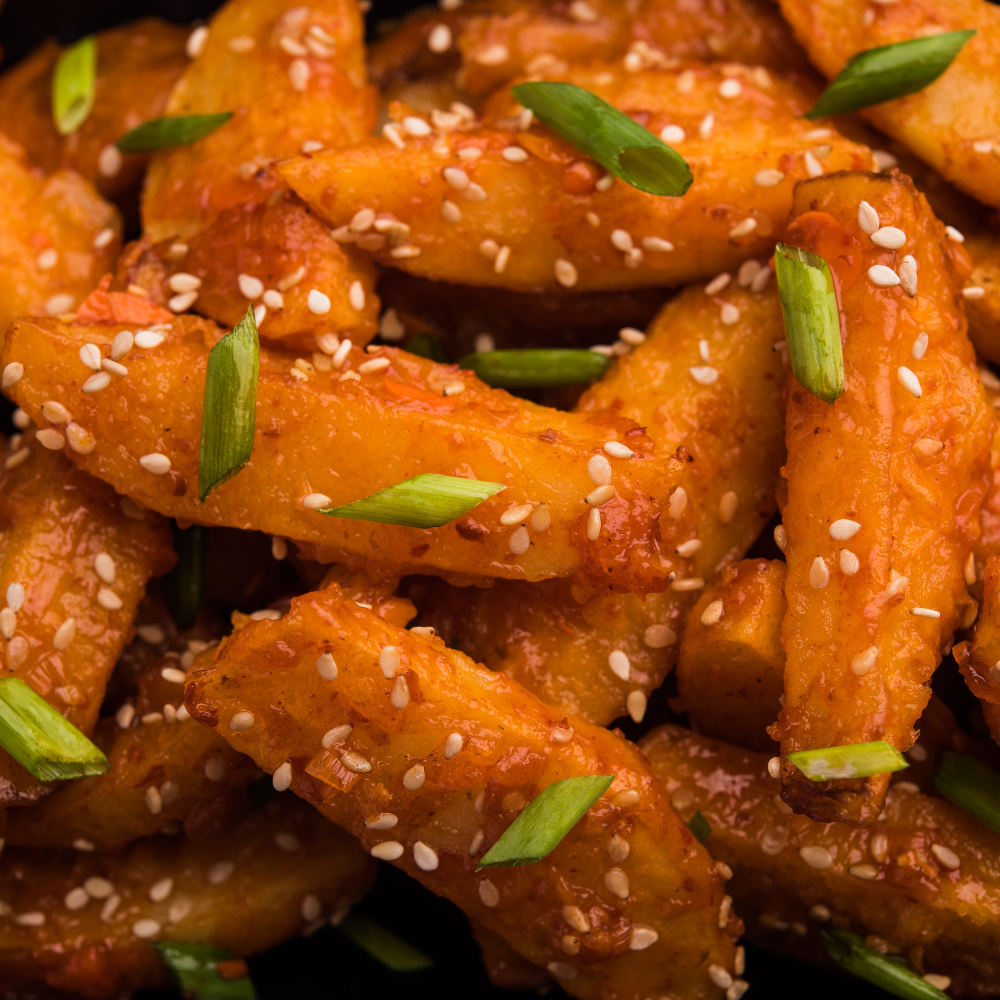
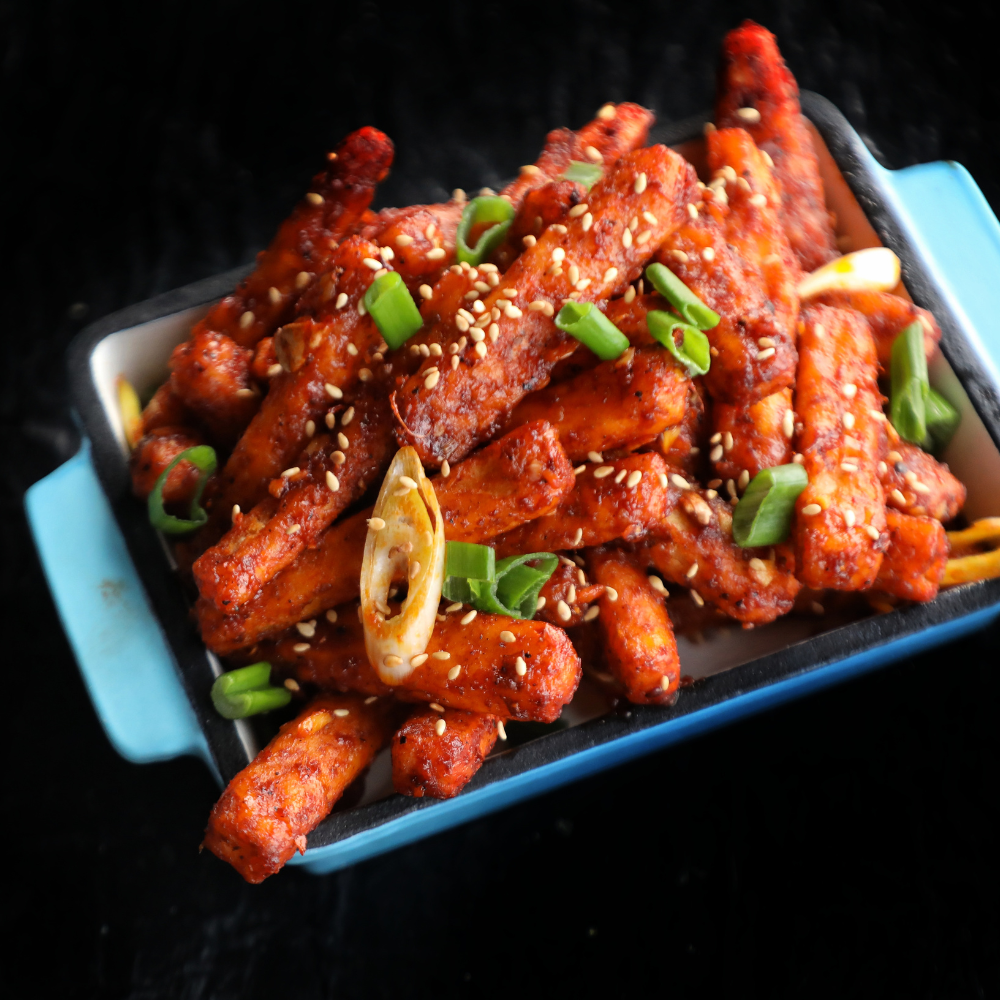
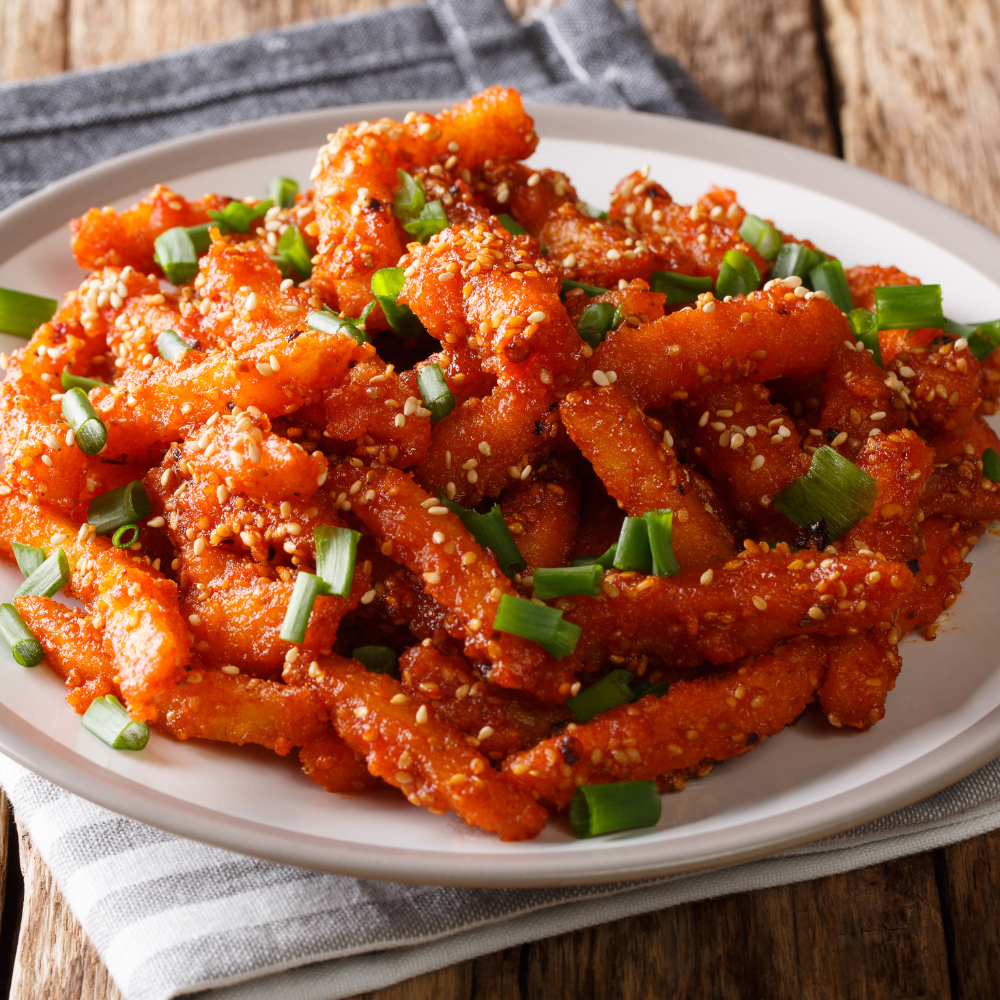
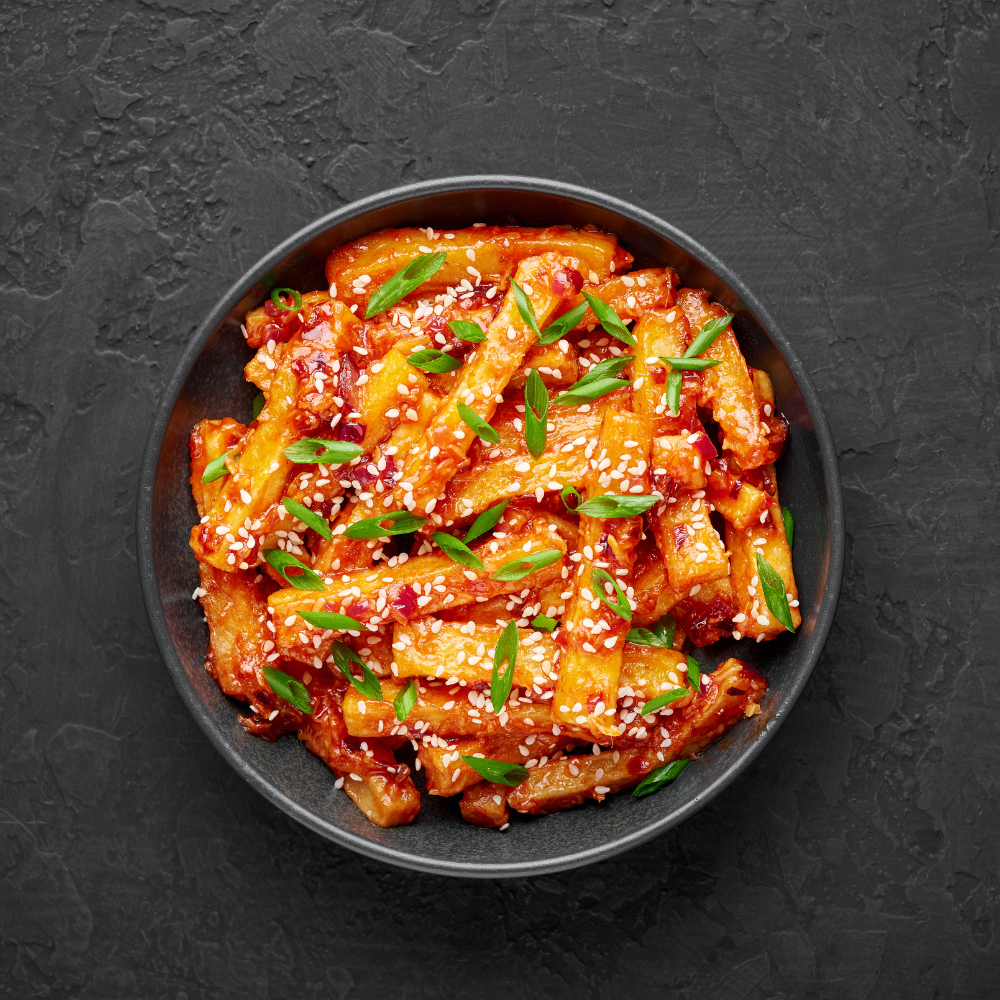
Step 8: Garnishing and Serving
Once done, I turn off the heat and immediately transfer the potatoes to a serving plate.
I garnish with:
- Fresh spring onions
- A sprinkle of sesame seeds
I always serve honey chilli potatoes immediately. This dish is at its best when hot and freshly tossed.
My Tips From Experience
After years of making this dish, here are a few insights that make a real difference:
1. Double Fry for Maximum Crispiness
If you want restaurant-quality texture, don’t skip the second fry.
2. Control the Sauce Quantity
Too much sauce will make the potatoes soggy. I keep it just enough to coat.
3. High Heat is Your Friend
From stir-frying vegetables to tossing potatoes, high heat ensures quick cooking without losing texture.
4. Balance is Everything
Honey chilli potatoes should never taste just sweet or just spicy. I constantly adjust:
- More honey for sweetness
- More chilli sauce for heat
- More vinegar for tang
5. Serve Immediately
This is not a dish that waits. The longer it sits, the softer it gets.
Variations I Sometimes Use
Even though I love the classic version, I do experiment occasionally.
- Garlic-heavy version: I double the garlic for a stronger punch
- Extra spicy: Add red chilli flakes or even a bit of hot sauce
- Sesame twist: Add toasted sesame oil at the end for a nutty aroma
- Crispy onions topping: Adds another layer of texture
Common Mistakes I Avoid
I’ve seen many versions of this dish go wrong. Here are some pitfalls I always avoid:
- Skipping drying of potatoes before coating
- Using too much batter, making them heavy instead of crispy
- Overcrowding the frying pan
- Cooking the sauce too long after adding potatoes
- Adding too much honey, making it overly sweet
Final Thoughts
For me, honey chilli potatoes are more than just a snack—they’re a showcase of technique. When done right, they demonstrate control over texture, heat, and flavor balance.
What I love most about this dish is how it brings together simplicity and precision. The ingredients are everyday, but the result depends entirely on how you handle them.
Every time I make it, I still pay attention to the small details—the sound of potatoes frying, the aroma of garlic hitting hot oil, the shine of the final glaze. That’s what turns cooking from a task into a craft.
If you follow this approach and take your time with each step, you won’t just make honey chilli potatoes—you’ll master them.
Read also : how to make strawberry cheese cake