There’s something deeply satisfying about making pav bhaji from scratch—the kind of satisfaction that only comes when you understand not just the how, but the why behind every step. I’ve spent years refining this dish in professional kitchens and at home, and if there’s one thing I can tell you, it’s this: great pav bhaji isn’t rushed. It’s layered, patient, and intentional.
Let me walk you through my approach—not just a recipe, but a method that brings out the soul of this iconic dish.
Understanding Pav Bhaji at Its Core
Pav bhaji is not just a mix of mashed vegetables and spices; it’s a carefully balanced composition of textures and flavors. The “bhaji” should be buttery, spicy, tangy, and slightly sweet, while the “pav” should be crisp on the outside and soft within.
When I cook pav bhaji, I think in terms of layers: base flavors, body, spice structure, and finishing notes. Each stage builds on the previous one.
Ingredients: Choosing with Intent
An experienced cook doesn’t just gather ingredients—they select them with purpose.
Vegetables (The Body of the Bhaji)
- Potatoes (for structure and creaminess)
- Cauliflower (for texture and subtle earthiness)
- Green peas (for sweetness)
- Carrots (optional, but I use them for balance)
- Capsicum (adds aroma and slight bitterness)
Aromatics
- Onions (finely chopped)
- Ginger-garlic paste (freshly made if possible)
Tomatoes
Always use ripe, juicy tomatoes. They form the acidic backbone of the dish.
Fats
- Butter (non-negotiable for authentic flavor)
- A bit of oil (to prevent butter from burning)
Spice Profile
- Pav bhaji masala (the heart of the dish)
- Red chili powder
- Turmeric
- Salt
Finishing Elements
- Fresh coriander
- Lemon juice
- Extra butter
For the Pav
- Soft bread rolls
- Butter
- A pinch of pav bhaji masala (my personal touch)
Step 1: Preparing the Vegetables
I always begin by boiling the vegetables—potatoes, cauliflower, peas, and carrots—until they are soft but not waterlogged.
Here’s where experience matters:
Don’t overboil. You want them tender enough to mash, but not so mushy that they lose character.
Once boiled, I roughly mash them—not into a paste, but into a coarse mixture. Pav bhaji should have texture, not be baby food.
Step 2: Building the Flavor Base
This is where the dish truly begins.
I heat a large, heavy-bottomed pan and add a mix of butter and oil. The oil stabilizes the butter so it doesn’t burn too quickly.
Onions First
Finely chopped onions go in. I cook them until they turn soft and lightly golden—not deeply browned. Pav bhaji isn’t about caramelized sweetness; it’s about balance.
Ginger-Garlic Paste
Once the onions are ready, I add ginger-garlic paste. The raw smell must disappear completely—this step is critical.
Capsicum
I add finely chopped capsicum next. Many people rush this step, but I let it soften and release its aroma. This gives the bhaji its signature street-style fragrance.
Step 3: Tomatoes and Spice Integration
Now come the tomatoes.
I cook them down slowly until they break apart and the mixture begins to release fat at the edges. This is a key indicator that the base is ready.
Adding Spices
At this stage, I add:
- Turmeric
- Red chili powder
- Pav bhaji masala
I don’t dump all the spice at once—I layer it. A little now, a little later. This creates depth rather than a one-dimensional flavor.
Step 4: Bringing It All Together
Now I add the mashed vegetables into the pan.
This is where technique matters more than ingredients.
Using a flat masher, I blend the vegetables into the masala directly in the pan. I keep the heat medium and continuously mash and mix.
Adjusting Consistency
I add water gradually—not too much. Pav bhaji should be thick but flowing, not watery.
As it simmers, the flavors begin to merge. This stage takes patience. I let it cook for at least 15–20 minutes, stirring frequently.
Step 5: The Signature Finish
This is the stage that separates a good pav bhaji from a great one.
Butter—Generously
I add a generous knob of butter and let it melt into the bhaji.
Final Spice Adjustment
A pinch more pav bhaji masala goes in at the end. This fresh hit of spice lifts the entire dish.
Lemon Juice
A squeeze of lemon brightens everything. Without acidity, pav bhaji feels heavy.
Fresh Coriander
Added at the very end for freshness.
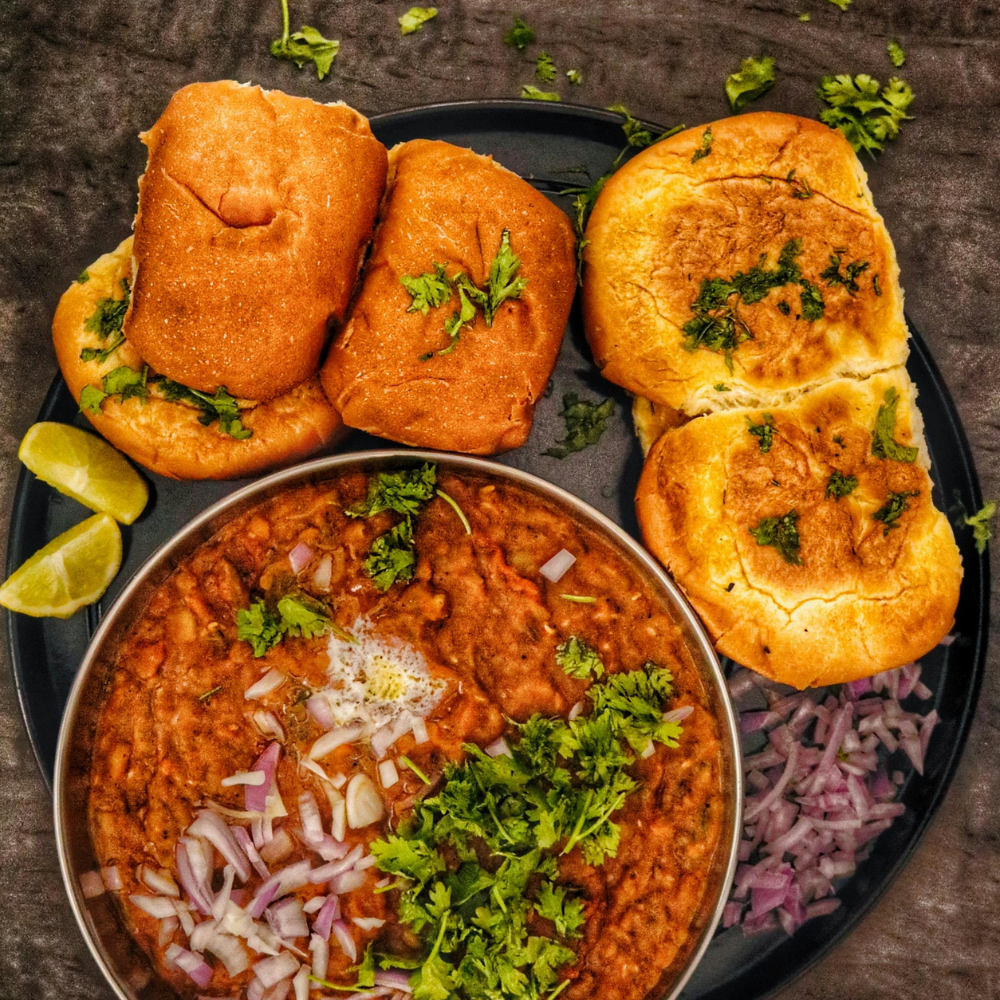
Step 6: Toasting the Pav
Never underestimate the pav—it’s half the experience.
I heat a flat pan and add butter. Once it melts, I sprinkle a pinch of pav bhaji masala directly onto the butter.
Then I place the pav, slit horizontally, onto the pan.
I press gently and toast until:
- The outside is crisp
- The inside remains soft
The aroma at this stage is unmistakable.
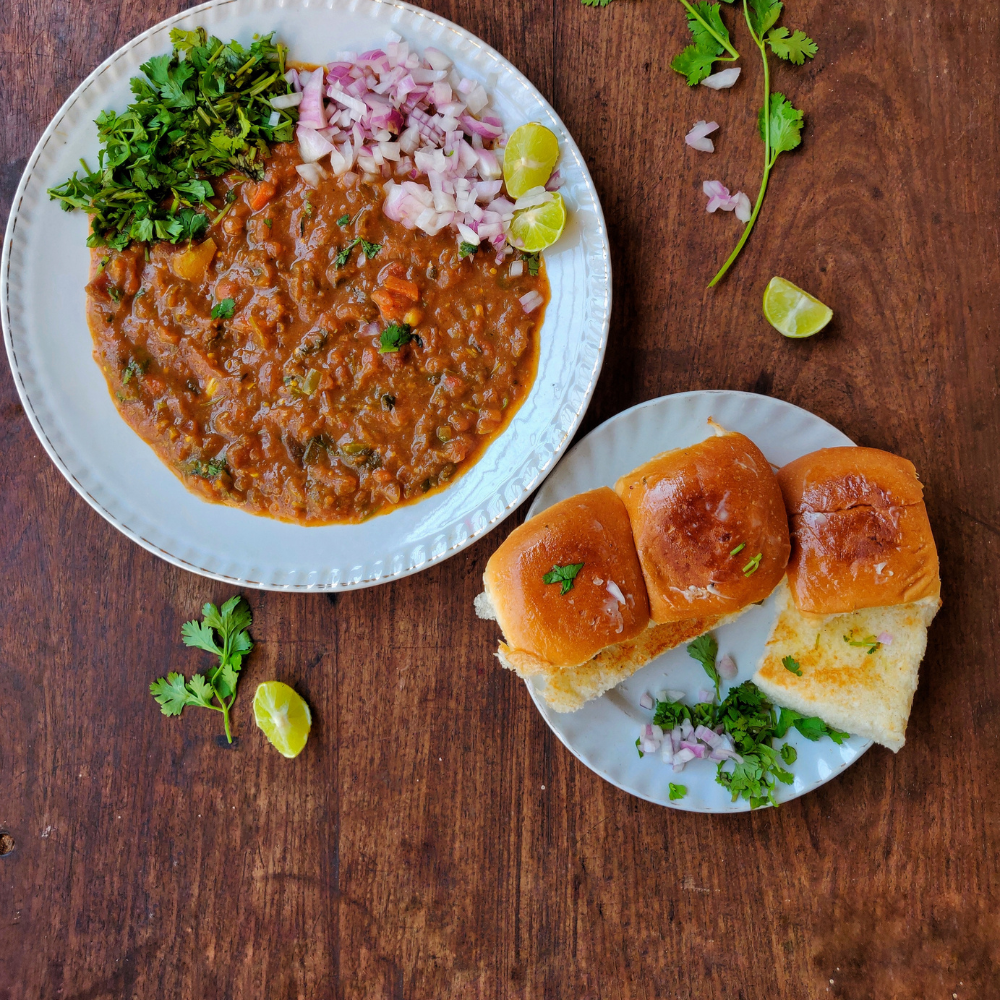
Plating and Presentation
Presentation matters, even for street food.
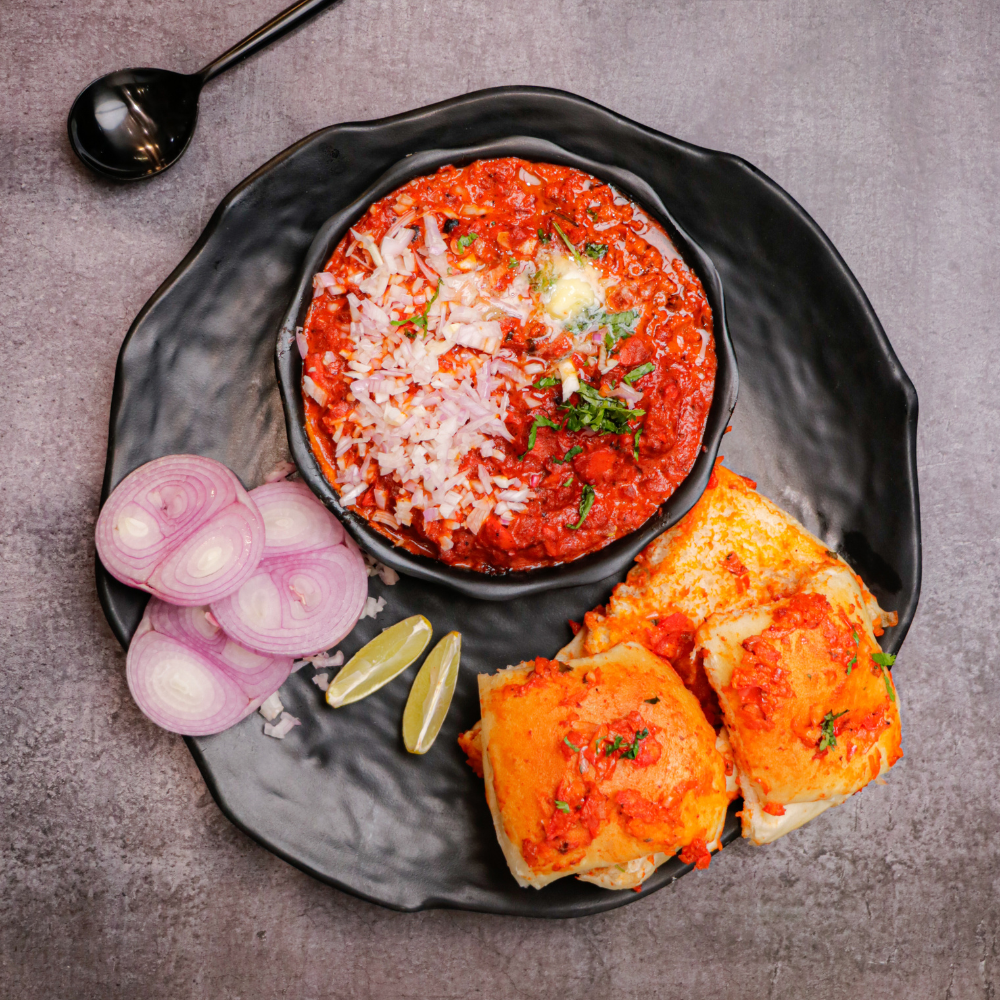
I serve pav bhaji hot, topped with:
- A dollop of butter
- Finely chopped onions
- Fresh coriander
- Lemon wedges on the side
The pav is placed alongside, slightly crisp and glistening with butter.
My Professional Tips
1. Don’t Rush the Tomatoes
If the tomatoes aren’t cooked properly, the bhaji will taste raw and acidic.
2. Mash in the Pan
Never fully mash vegetables beforehand. The integration happens best in the pan.
3. Butter Is Flavor, Not Decoration
This is not a low-fat dish. Butter defines its character.
4. Balance Is Everything
Too spicy? Add butter.
Too tangy? Add a pinch of sugar.
Too thick? Add water and simmer.
5. Reheating Improves Flavor
Pav bhaji often tastes better the next day because the flavors deepen.
Read also : How to make Pasta
Variations I Occasionally Use
Even as a traditionalist, I sometimes experiment.
Extra Butter Pav Bhaji
For indulgent servings, I increase the butter and finish with cream.
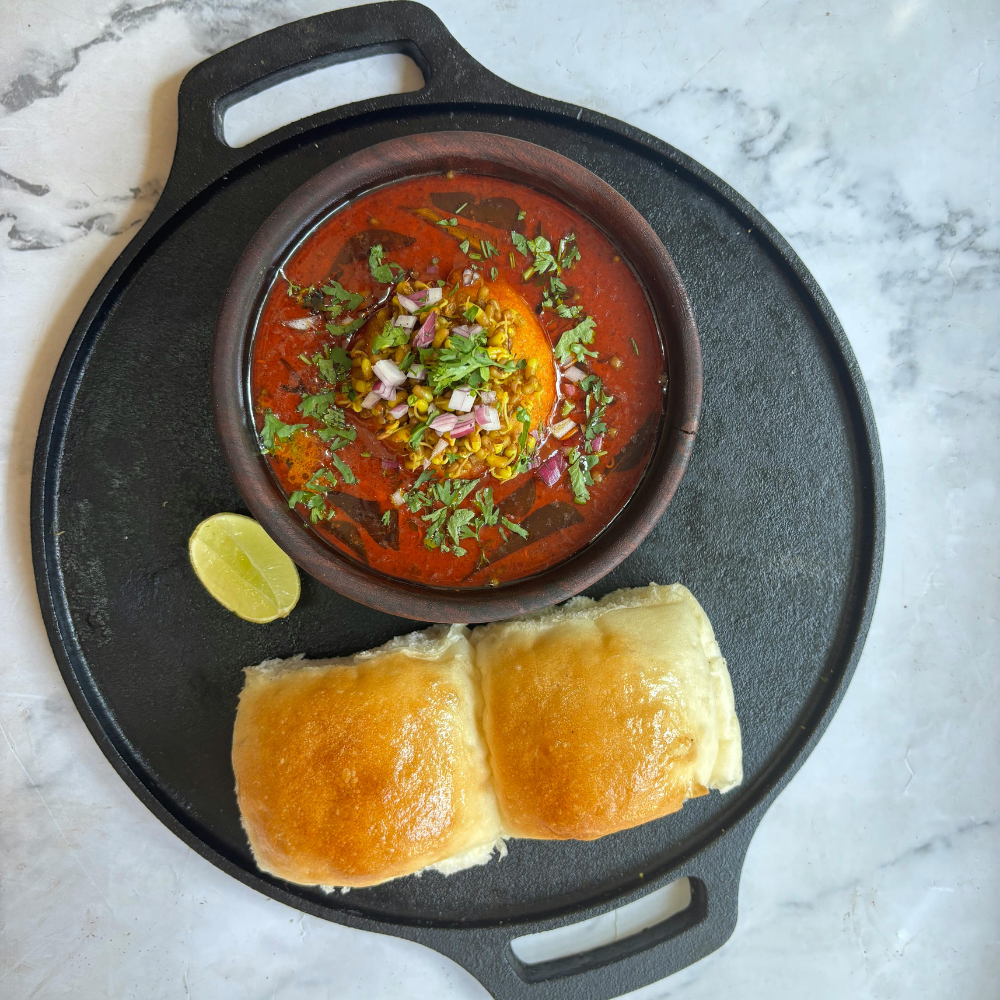
Khada Pav Bhaji
Less mashed, more chunky—great for texture lovers.
Cheese Pav Bhaji
A modern twist—grated cheese melted into the bhaji.
Common Mistakes to Avoid
- Using raw-tasting tomatoes
- Overloading with spices without balance
- Making the bhaji too watery
- Skipping the capsicum (it’s essential for aroma)
- Not cooking long enough after mixing everything
Final Thoughts
For me, pav bhaji is more than a recipe—it’s a craft. It’s about understanding how ingredients transform under heat, how spices bloom in fat, and how patience turns simple vegetables into something unforgettable.
If you approach it with care and attention, you’ll notice the difference immediately—not just in taste, but in the way the dish feels.
Cook it once by the book. Then cook it again your way. That’s when you truly begin to master it.