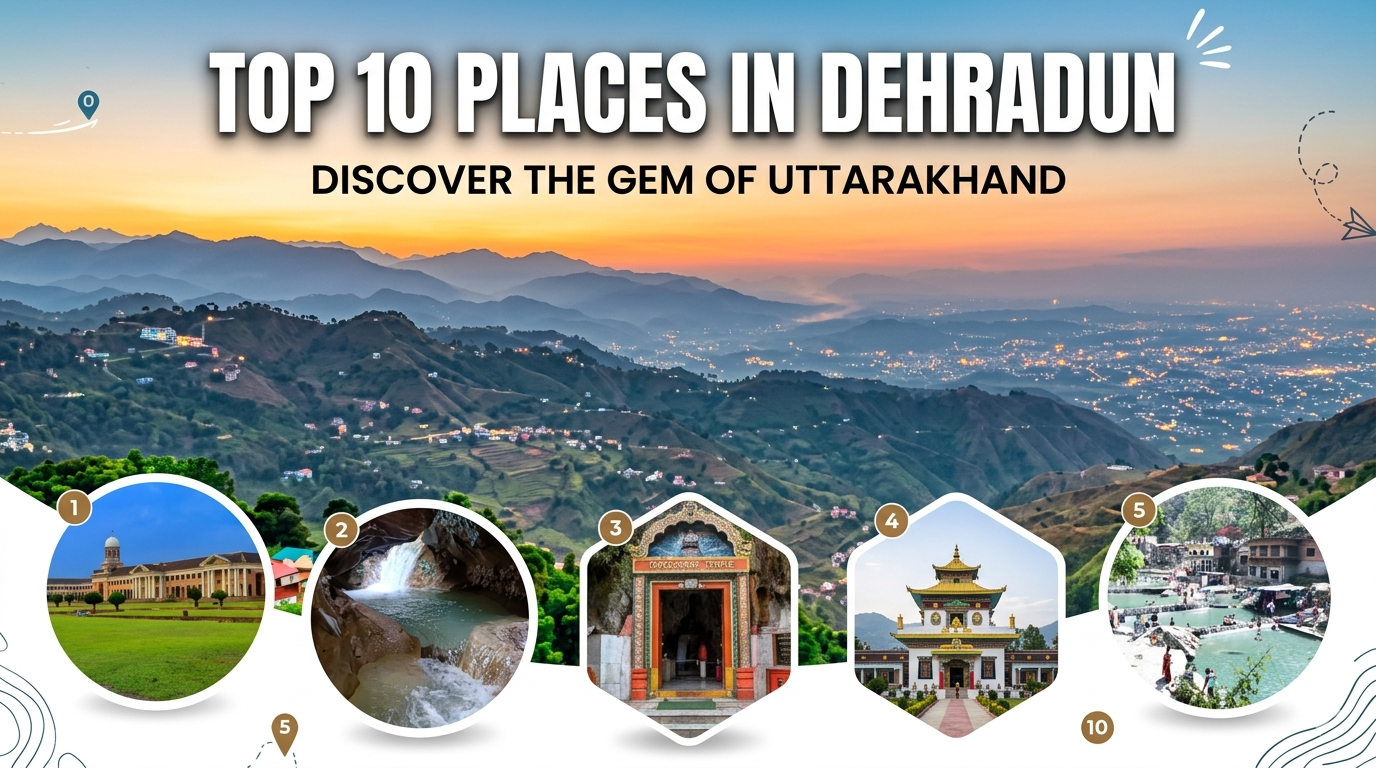
Dehradun, the beautiful capital of Uttarakhand, is one of the most charming destinations in northern India. Nestled in the scenic Doon Valley and surrounded by the Himalayas, the city is known for its pleasant weather, lush greenery, waterfalls, caves, temples, monasteries, and colonial architecture. Whether you are a nature lover, adventure seeker, spiritual traveler, or someone looking for a peaceful getaway, Dehradun has something special for everyone. Here is a detailed guide to the top 10 places to visit in Dehradun.
Dehradun is often called the “Gateway to Mussoorie” and serves as an ideal destination for tourists who want to enjoy a mix of natural beauty and cultural heritage. From serene monasteries to thrilling caves and wildlife parks, this city offers unforgettable travel experiences.
1. Robber’s Cave (Guchhupani)
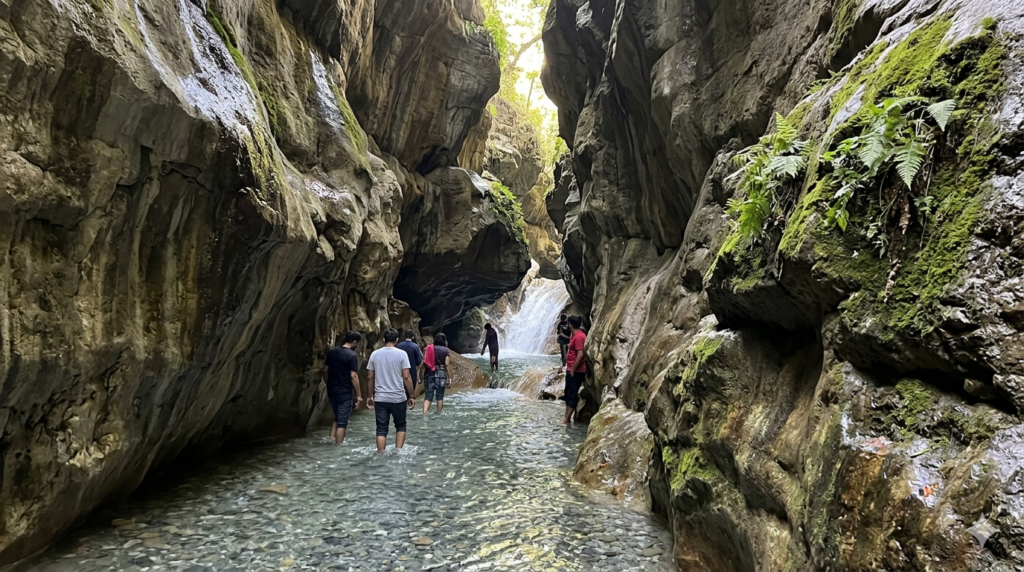
Robber’s Cave, popularly known as Guchhupani, is one of the most famous tourist attractions in Dehradun. It is a fascinating natural cave with a river flowing through it, creating a unique experience for visitors. Walking barefoot through the cold stream inside the cave, surrounded by steep rocky walls, feels adventurous and refreshing. The cave stretches for several hundred meters and is especially popular during summer because of the cool water and shady surroundings.
According to local stories, robbers once used this cave as a hideout during British times, which is how it got its name. Today, it is a favorite picnic and adventure spot for families, couples, and photographers. The natural beauty and mystery of this place make it one of the top attractions in Dehradun.
2. Sahastradhara
Sahastradhara, which means “Thousand Fold Spring,” is another must-visit destination in Dehradun. It is famous for its beautiful waterfalls, caves, and sulfur-rich springs, which are believed to have medicinal properties. The water dripping from limestone rocks creates a magical view, making it a paradise for nature lovers.
Tourists can enjoy bathing in the cool water, exploring nearby caves, and taking the ropeway ride that offers breathtaking views of the valley. The scenic beauty of Sahastradhara, combined with its peaceful environment, makes it an ideal place for relaxation and photography. It is one of the most visited tourist spots in Dehradun throughout the year.
3. Forest Research Institute (FRI)
The Forest Research Institute, popularly known as FRI, is one of the most iconic landmarks of Dehradun. Known for its grand Greco-Roman architecture, huge green lawns, and educational museums, this institute is a perfect blend of beauty and knowledge.
Built in the early 20th century, the institute is spread across a vast campus and attracts tourists for its stunning building, botanical gardens, and museums related to forestry. Many Bollywood movies have also been shot here because of its majestic architecture. Whether you are interested in history, science, or photography, FRI is a place you should not miss while visiting Dehradun.
4. Mindrolling Monastery
Mindrolling Monastery is one of the largest Buddhist monasteries in India and a peaceful spiritual destination in Dehradun. Located in Clement Town, this monastery is known for its beautiful architecture, colorful murals, large stupa, and serene gardens.
Visitors can spend time meditating, exploring Buddhist art, and enjoying the calm surroundings. The giant Buddha statue and Tibetan-style design make this place visually stunning. The monastery is not only a religious center but also a place where travelers can find peace and spiritual energy away from the noise of city life.
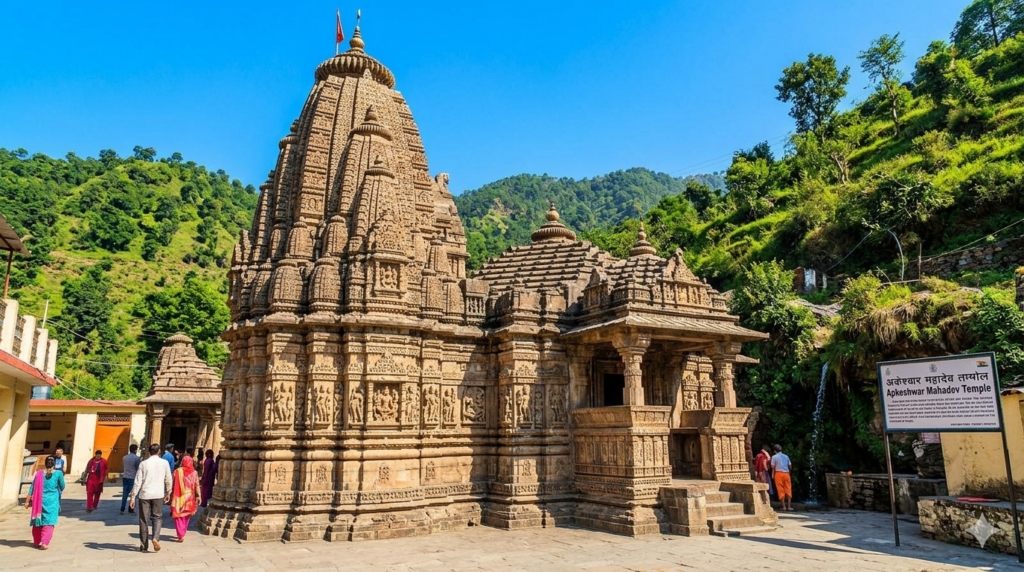
5. Tapkeshwar Temple
Tapkeshwar Temple is one of the oldest and most famous temples in Dehradun, dedicated to Lord Shiva. What makes this temple unique is its location inside a natural cave where water continuously drips onto the Shiva Lingam, creating a divine and mystical atmosphere.
Surrounded by hills and a small river, the temple offers a peaceful spiritual experience. Devotees and tourists visit throughout the year to seek blessings and enjoy the natural beauty of the area. The temple becomes especially crowded during Mahashivratri. Its spiritual significance and scenic surroundings make it one of Dehradun’s top attractions.
6. Rajaji National Park
For wildlife lovers, Rajaji National Park is a must-visit place near Dehradun. This famous national park is home to elephants, tigers, leopards, deer, wild boars, and hundreds of bird species. It offers thrilling jungle safaris and opportunities to experience nature in its purest form.
The park’s dense forests, rivers, and diverse wildlife make it a paradise for photographers and adventure enthusiasts. If you enjoy wildlife safaris and birdwatching, Rajaji National Park offers an unforgettable experience close to Dehradun.
7. Malsi Deer Park (Dehradun Zoo)
Malsi Deer Park, now known as Dehradun Zoo, is a popular family-friendly tourist attraction located on the Mussoorie Road. It is a mini zoological park where visitors can see deer, birds, leopards, and other animals in a natural setting.
The park has walking trails, picnic spots, and beautiful green surroundings, making it perfect for families and children. Nature lovers also enjoy the peaceful environment and photography opportunities. It is a great place to spend a relaxing day while exploring Dehradun.
8. Lachhiwala Nature Park
Lachhiwala Nature Park is a hidden gem in Dehradun known for its man-made pools, natural forest surroundings, and peaceful picnic atmosphere. The place is ideal for families, couples, and groups looking to enjoy a quiet day amidst nature.
Visitors can relax near the water, take nature walks, and enjoy birdwatching. The calm and green environment makes it a refreshing escape from city life. It is especially popular during weekends and summer vacations.
9. Clock Tower (Ghanta Ghar)
Located in the heart of Dehradun city, Clock Tower or Ghanta Ghar is one of the city’s most recognizable landmarks. It represents the heritage and culture of Dehradun and serves as a central meeting point.
Surrounded by markets, cafes, and shopping streets, it gives visitors a chance to experience local life in Dehradun. The area around Clock Tower is perfect for evening walks, street food, and shopping in nearby Paltan Bazaar.
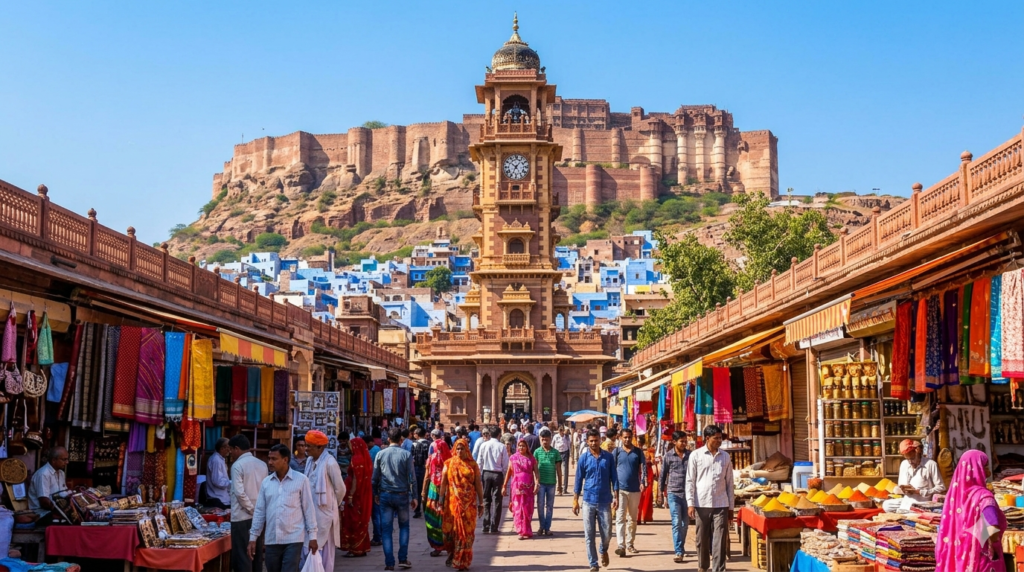
10. Paltan Bazaar
No trip to Dehradun is complete without visiting Paltan Bazaar. This bustling market is famous for shopping, street food, local handicrafts, woolen clothes, spices, and souvenirs.
Tourists love exploring its lively streets and tasting local snacks. It is one of the best places to experience the culture and daily life of Dehradun while shopping for gifts and local products. Paltan Bazaar adds a colorful urban touch to your Dehradun trip.
Conclusion
Dehradun is a city that beautifully combines nature, spirituality, adventure, and heritage. From the thrilling streams of Robber’s Cave and the scenic waterfalls of Sahastradhara to the peaceful Mindrolling Monastery and the majestic Forest Research Institute, every destination in Dehradun offers a unique experience.
Whether you are planning a family vacation, solo trip, romantic getaway, or weekend escape, these top 10 places in Dehradun should definitely be on your travel list. With its pleasant climate, beautiful landscapes, and diverse attractions, Dehradun promises memories that will last a lifetime.