If you step into my kitchen, the first thing you’ll notice is the aroma—warm, comforting, and slightly mysterious. It’s the scent of dumplings gently steaming, carrying stories from the mountains into my hands. Today, I’m not just giving you a recipe—I’m inviting you into my world as a chef, showing you exactly how I craft momos from scratch, with precision, passion, and a little bit of artistry.
Momos, for me, are more than just food. They are an experience. Whether you’ve tasted them on a busy street corner or at a fine dining table, the magic lies in their simplicity. But simplicity does not mean easy—every fold, every spice, every second of steaming matters.
Let me take you through my process.
Understanding Momos: The Foundation
Before we begin cooking, I always remind my students: respect the dish. Momos originated in the Himalayan regions and have traveled across cultures, adapting beautifully. But the soul remains the same—soft dough, juicy filling, and gentle cooking.
As a chef, I focus on three pillars:
- Perfect dough
- Balanced filling
- Proper cooking technique
If you master these, you don’t just make momos—you create them.
Step 1: Preparing the Dough (The Skin of the Momo)
I start with the dough because it needs time to rest.
Ingredients I Use:
- 2 cups all-purpose flour
- A pinch of salt
- Water (as needed)
My Method:
I take a large bowl, add flour and salt, and slowly pour water while mixing. I never rush this step. The dough should be firm—not too soft like roti dough.
Once combined, I knead it for about 8–10 minutes. This builds elasticity, which helps when shaping momos later.
After kneading, I cover it with a damp cloth and let it rest for at least 30 minutes.
Chef’s Tip:
Resting the dough is non-negotiable. It relaxes the gluten and makes rolling easier.
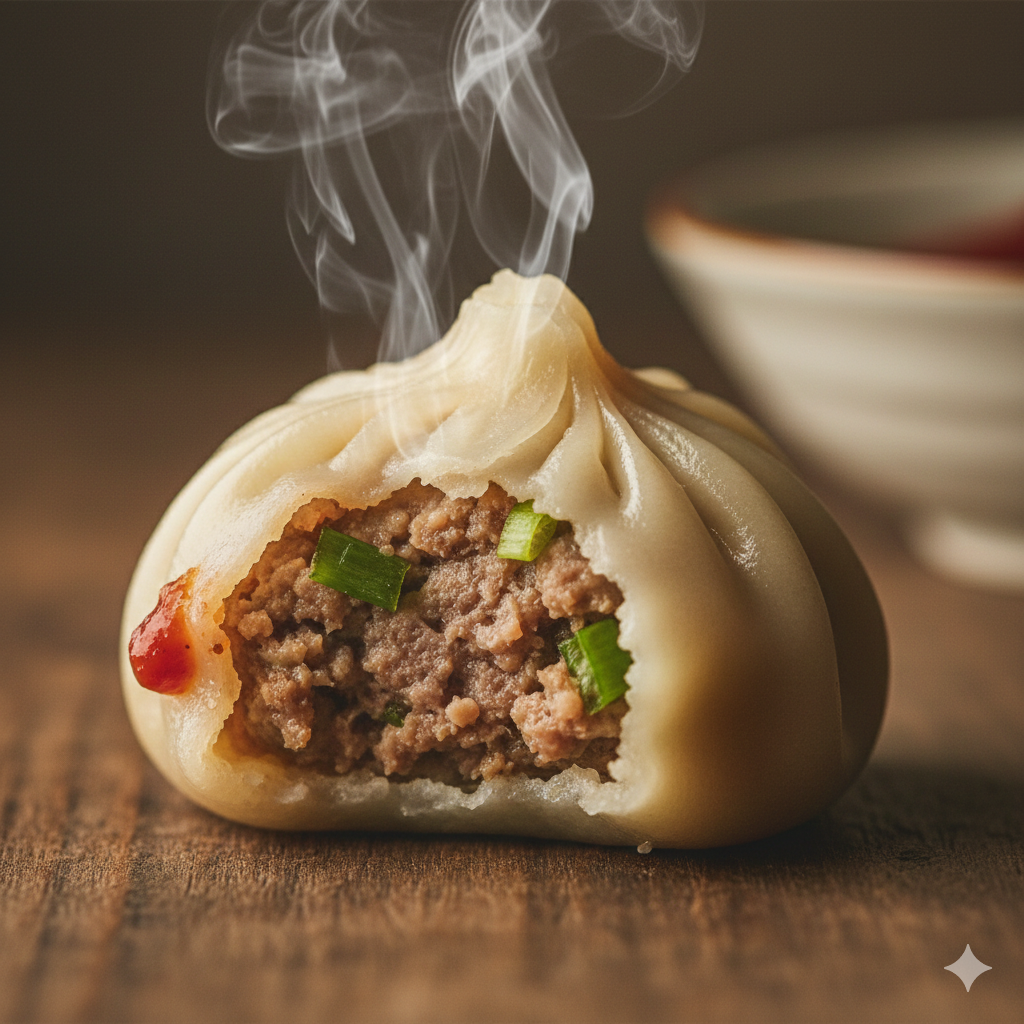
Step 2: Crafting the Filling (The Heart of the Momo)
This is where I express creativity. The filling defines the personality of your momos.
Classic Vegetable Filling (My Go-To)
Ingredients:
- Finely chopped cabbage
- Grated carrot
- Finely chopped onions
- Garlic (very finely minced)
- Ginger (grated)
- Green chilies (optional)
- Soy sauce
- Salt
- Pepper
- A touch of oil
My Technique:
I never overcook the filling before stuffing. Instead, I keep it fresh and slightly raw so it cooks perfectly during steaming.
I mix all vegetables in a bowl, then add garlic, ginger, soy sauce, salt, and pepper. I gently toss everything—no squeezing, no crushing.
Chef’s Insight:
If you press the vegetables too hard, they release water. That water can tear your momo wrappers.
Non-Vegetarian Variation (Optional)
When I prepare chicken momos, I use:
- Minced chicken
- Garlic, ginger
- Soy sauce
- Salt, pepper
- Finely chopped onions
I mix everything well and let it rest for 10–15 minutes. This allows flavors to blend deeply.
Step 3: Rolling the Wrappers
Now comes the part where skill meets patience.
I take the rested dough and divide it into small portions. Then I roll each portion into a small ball.
Using a rolling pin, I flatten each ball into a thin circle—about 3–4 inches in diameter.
My Rule:
Edges should be thinner than the center. This helps in folding and ensures the momo doesn’t feel doughy.
Step 4: Filling and Shaping (The Art)
This is my favorite part. Every momo I shape feels like a signature.
I place one spoon of filling in the center of the wrapper. Then I start folding.
There are many styles, but I usually go for the pleated half-moon or round pouch style.
How I Fold:
- Hold the wrapper in one hand
- Use the other hand to create small pleats
- Seal carefully without leaving air pockets
Chef’s Tip:
Don’t overfill. A momo should be delicate, not bursting.
Step 5: Steaming (The Final Transformation)
Steaming is where everything comes together.
I heat water in a steamer and lightly grease the steaming tray.
Then I place momos with enough space between them—never crowded.
Steaming Time:
- 8–10 minutes for vegetable momos
- 10–12 minutes for chicken momos
You’ll know they’re done when the wrapper turns slightly translucent.
My Secret:
I never oversteam. Overcooked momos lose their charm—they become chewy instead of soft.
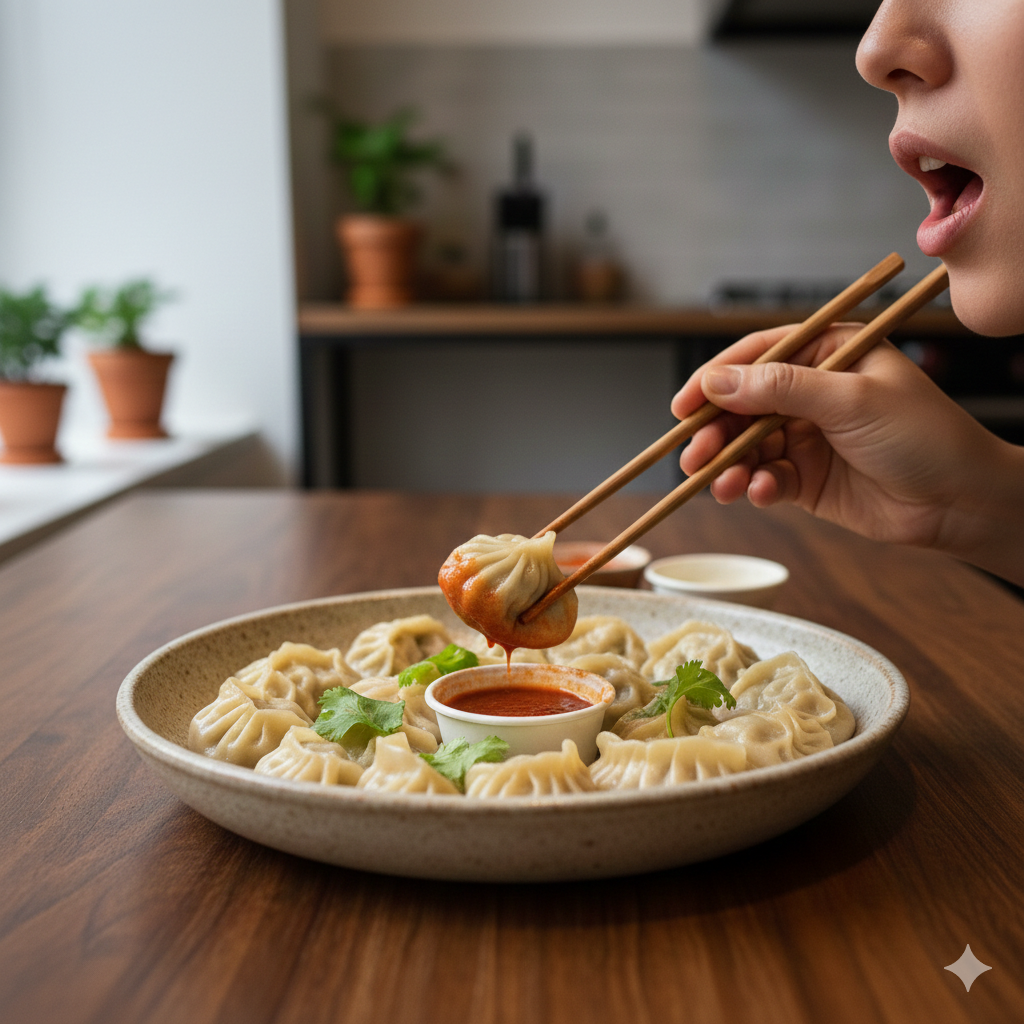
Step 6: Preparing the Signature Momo Chutney
A momo without chutney is incomplete in my kitchen.
Ingredients:
- Tomatoes
- Dry red chilies
- Garlic
- Salt
- A little oil
My Method:
I boil tomatoes and chilies until soft, then blend them with garlic and salt.
After blending, I heat a little oil and lightly cook the chutney for depth.
The result? A spicy, tangy dip that elevates every bite.
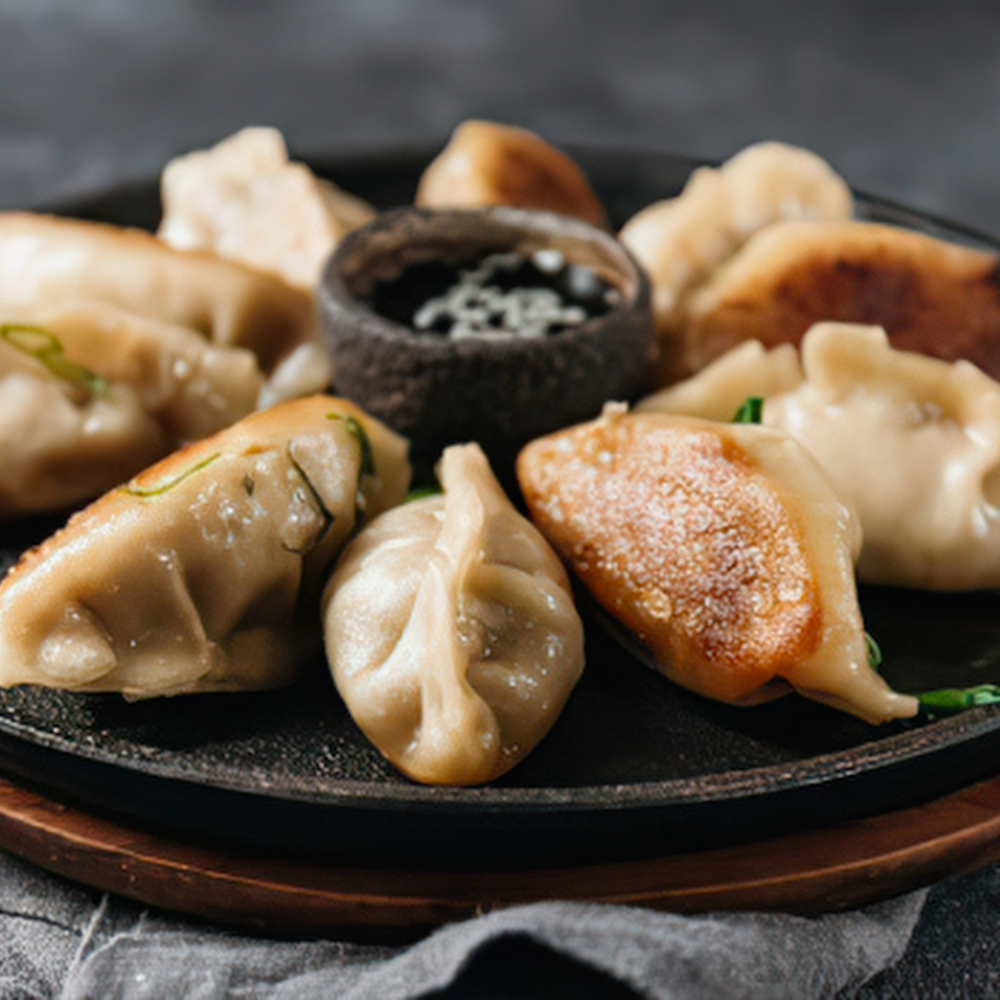
Serving the Momos (Presentation Matters)
As a chef, I believe we eat with our eyes first.
I arrange momos neatly on a plate, serve chutney on the side, and sometimes garnish with fresh coriander.
If I want to impress, I add:
- A drizzle of chili oil
- A sprinkle of sesame seeds
Common Mistakes I Always Avoid
Over the years, I’ve seen many beginners struggle. Here’s what I always tell them:
- Too soft dough – leads to tearing
- Watery filling – ruins the structure
- Thick wrappers – makes momos heavy
- Oversteaming – kills texture
- Overfilling – breaks the momo
Cooking is not just about following steps—it’s about awareness.
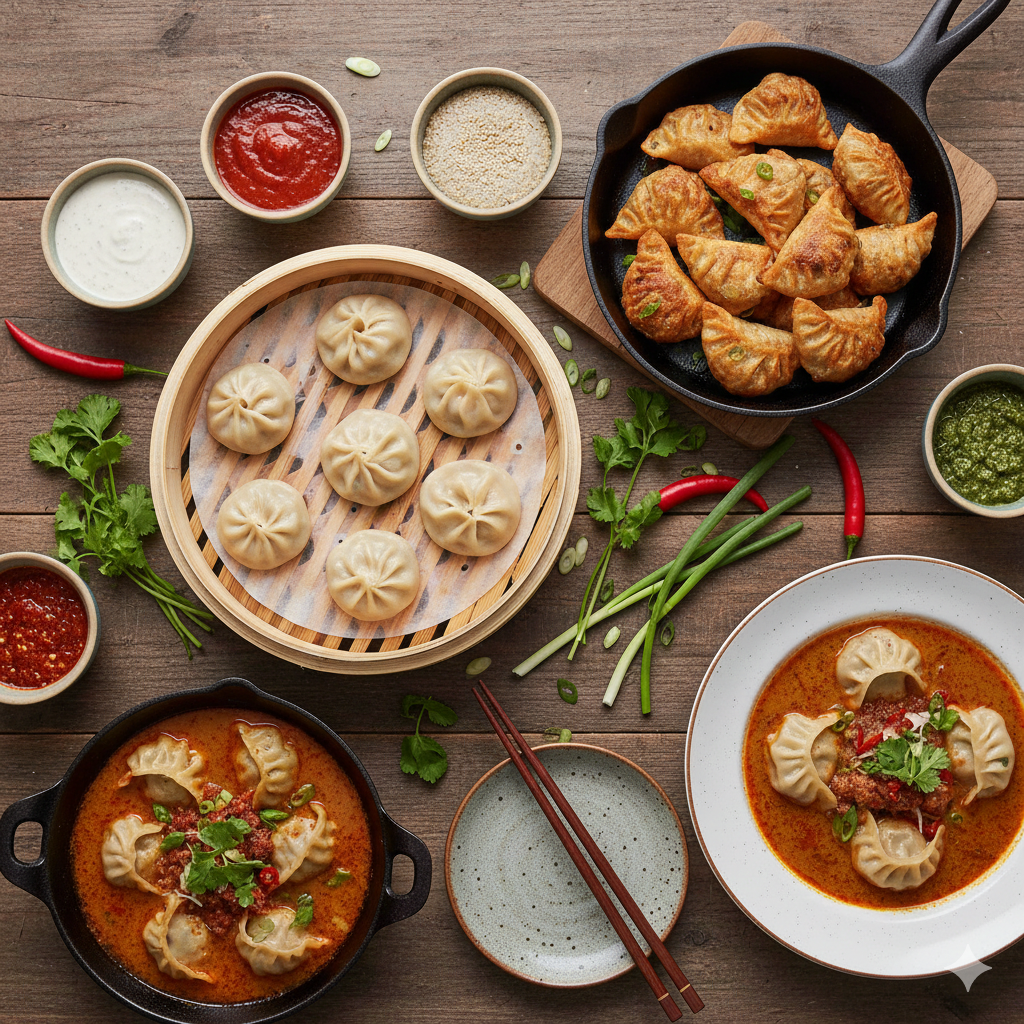
Variations I Love Experimenting With
Once you master basic momos, the possibilities are endless.
Fried Momos
After steaming, I lightly fry them until golden and crispy.
Tandoori Momos
I marinate steamed momos in yogurt and spices, then roast them.
Cheese Momos
I add a small cube of cheese inside—simple but indulgent.
read also ; how to make pasta
What Makes My Momos Special
People often ask me: What’s your secret?
It’s not one ingredient. It’s the approach.
- I respect the dough
- I balance flavors carefully
- I focus on texture
- I cook with patience
And most importantly, I enjoy the process.
Final Thoughts: Cooking Like a Chef
Making momos is not just a recipe—it’s a skill you refine over time.
The first time you try, they might not look perfect. Mine didn’t either. But with practice, your hands will learn what no recipe can teach.
When you cook like a chef, you don’t just follow instructions—you understand them.
So the next time you step into your kitchen, don’t rush. Feel the dough. Taste the filling. Watch the steam rise.
That’s where the magic happens.