Idli is not just a dish—it’s an emotion in Indian households. Soft, fluffy, and incredibly light on the stomach, idli has been a breakfast staple for generations. As someone who has spent years mastering traditional cooking techniques, I can confidently say that making perfect idlis is both an art and a science. While it may seem simple, achieving that cloud-like softness requires attention to detail, patience, and the right technique.
In this detailed guide, I’ll walk you through every step of making authentic, restaurant-quality idlis at home—from selecting ingredients to fermentation, grinding, and steaming. By the end of this article, you’ll not only know how to make idli but also understand why each step matters.
Understanding Idli: The Basics
Idli is a steamed savory cake made from a fermented batter of rice and urad dal (split black gram). Originating from South India, it is known for its nutritional value, easy digestibility, and minimal oil usage.
What makes idli special is fermentation. This natural process not only enhances flavor but also improves digestion and increases nutrient absorption.
Ingredients Required
To make traditional idli, you need just a few ingredients:
- 2 cups idli rice (or parboiled rice)
- 1 cup urad dal (skinned black gram)
- 1 teaspoon fenugreek seeds (methi)
- Salt to taste
- Water as needed
That’s it. No baking soda, no yeast—just natural fermentation.
Choosing the Right Ingredients
The quality of your idli depends heavily on your ingredients.
Rice
Use idli rice or parboiled rice. Regular basmati or raw rice won’t give the same texture. Idli rice has the right starch content that helps in fermentation and softness.
Urad Dal
Always use fresh, good-quality urad dal. Old dal doesn’t ferment well and results in dense idlis.
Fenugreek Seeds
These tiny seeds play a big role. They enhance fermentation and add a subtle flavor. They also help in giving idlis a soft texture.
Step 1: Washing and Soaking
Start by washing rice and urad dal separately.
- Wash rice 3–4 times until water runs clear.
- Wash urad dal thoroughly.
- Add fenugreek seeds to the urad dal.
Soaking Time
- Rice: 4–6 hours
- Urad dal: 4 hours
Soaking softens the grains and makes grinding easier. Never skip this step.
Step 2: Grinding the Batter
Grinding is one of the most crucial steps.
Traditional Method (Stone Grinder)
If you have access to a wet grinder, use it. It produces the best texture.
Modern Method (Mixer Grinder)
A mixer works fine, but you need to be careful not to overheat the batter.
Grinding Urad Dal
- Drain water from soaked dal.
- Grind with minimal water.
- Aim for a smooth, fluffy batter.
This batter should be light and airy. When you take some in your hand, it should feel soft and slightly frothy.
Grinding Rice
- Grind rice separately.
- Keep it slightly coarse—not too smooth.
The slight graininess helps in structure and texture.
Mixing the Batter
Combine both batters in a large bowl.
- Add salt (optional before fermentation; some prefer adding later)
- Mix thoroughly using your hand
Why use your hand?
The natural bacteria from your skin help kickstart fermentation.
Step 3: Fermentation – The Heart of Idli
Fermentation is where the magic happens.
Ideal Conditions
- Temperature: 25–32°C
- Time: 8–12 hours
In warm climates, fermentation happens faster. In colder regions, you may need extra time.
Signs of Perfect Fermentation
- Batter doubles in volume
- Slight sour aroma
- Light and airy texture
Do not over-ferment, as it can make idlis sour and flat.
Pro Tip for Cold Weather
If you live in a cold area:
- Keep batter in an oven with light on
- Wrap the container in a cloth
- Place near a warm spot
Step 4: Preparing for Steaming
Before steaming:
- Grease idli molds with oil
- Gently mix the batter (do not overmix)
- Pour batter into molds
Fill each mold about 80%, allowing room for expansion.
Step 5: Steaming the Idlis
Use an idli steamer or pressure cooker (without whistle).
Steps:
- Add water to the steamer
- Bring water to a boil
- Place idli stand inside
- Steam for 10–12 minutes
How to Check If Idli is Done
Insert a toothpick or knife:
- If it comes out clean, idli is ready
Avoid overcooking—it makes idlis dry.
Step 6: Removing Idlis
Let idlis cool for 2–3 minutes before removing.
Use a spoon dipped in water to scoop them out easily.
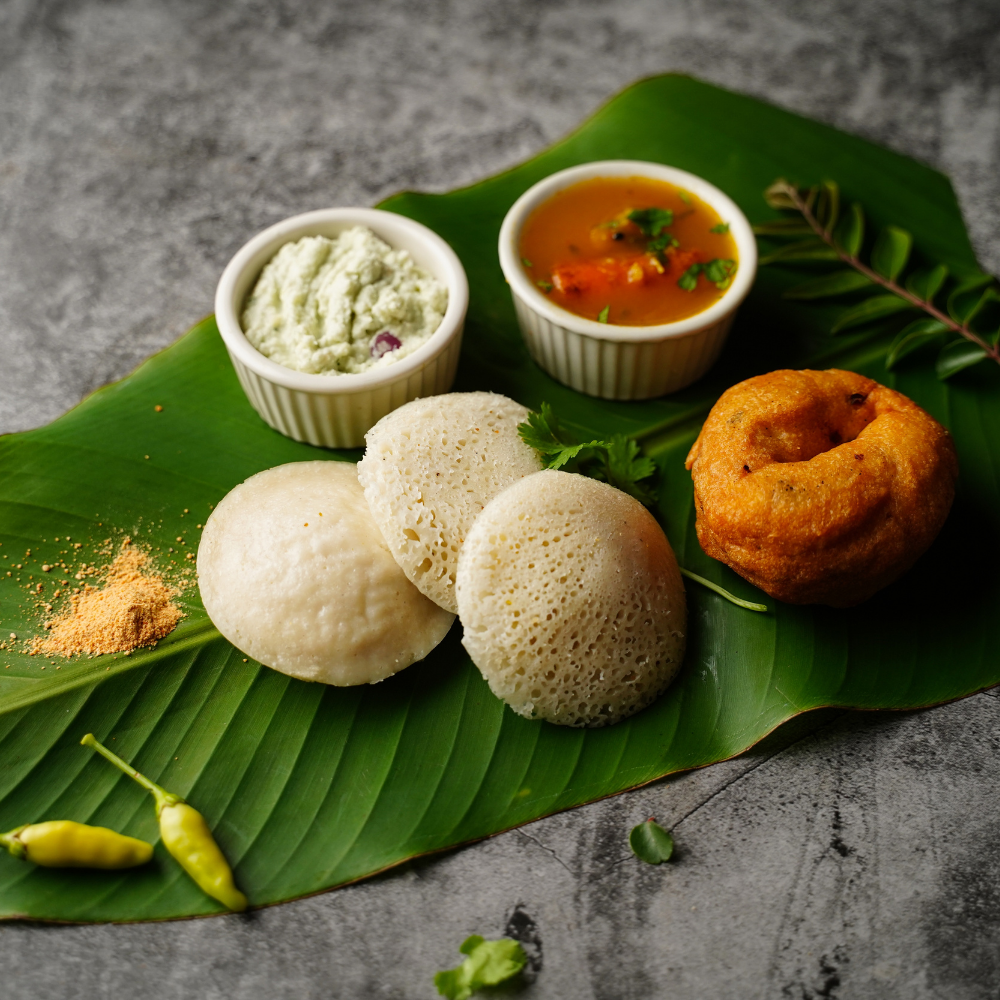
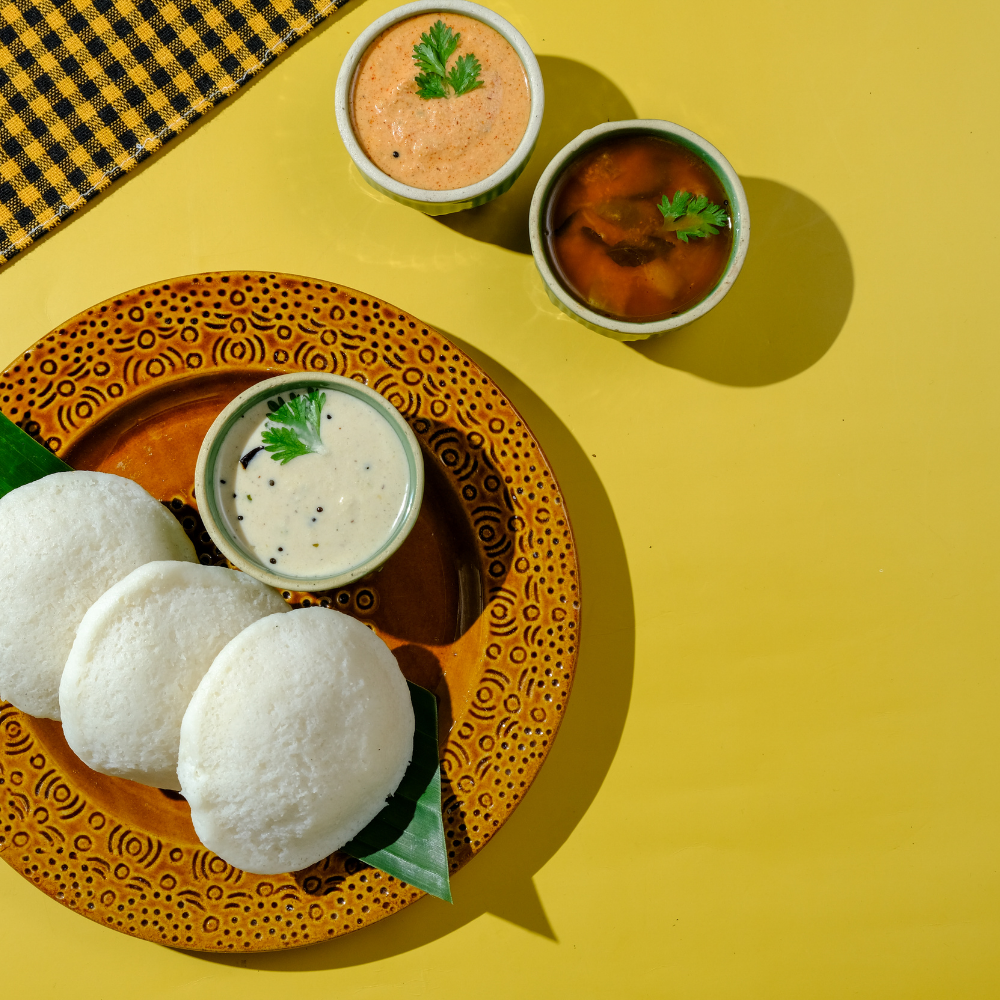
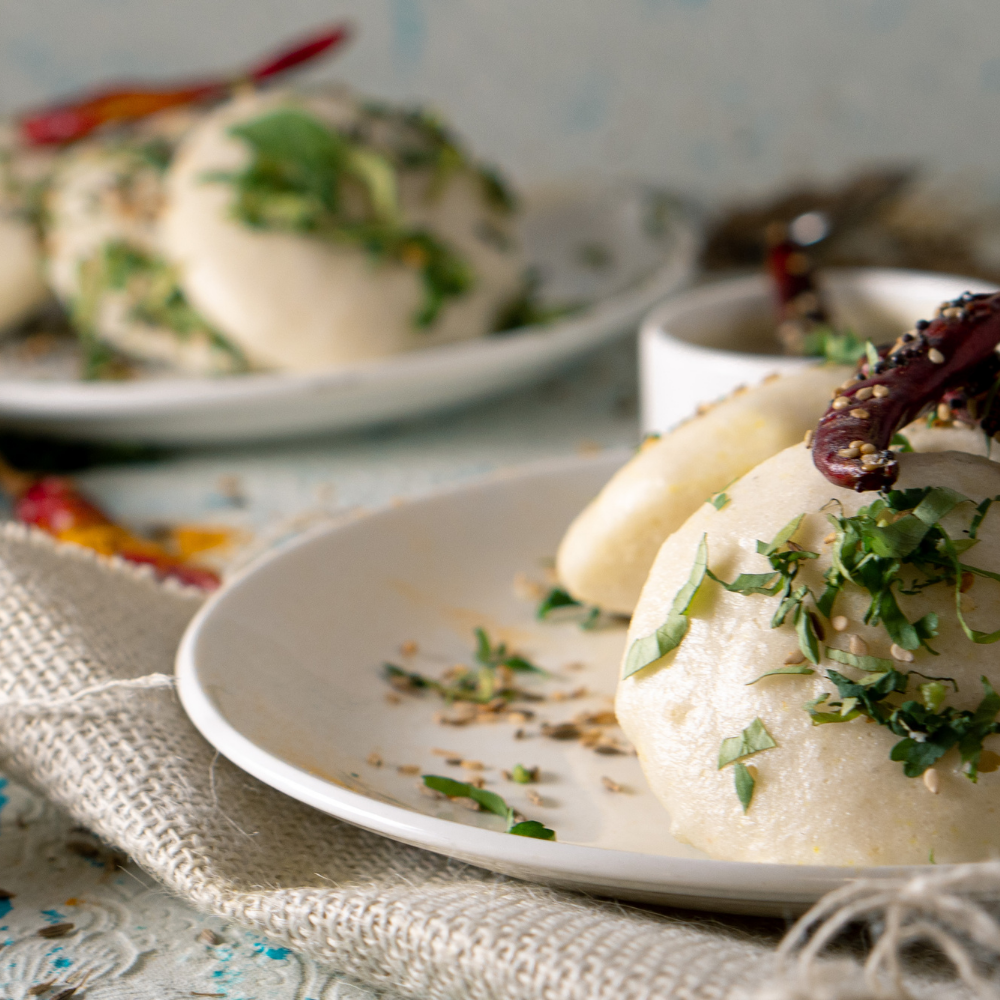
Serving Suggestions
Idli is best served hot with:
- Coconut chutney
- Sambar
- Tomato chutney
- Gunpowder (podi) with ghee
Common Mistakes and How to Avoid Them
1. Hard Idlis
Cause: Poor fermentation or thick batter
Solution: Ensure proper fermentation and correct batter consistency
2. Flat Idlis
Cause: Over-fermented batter
Solution: Reduce fermentation time
3. Sticky Idlis
Cause: Too much water in batter
Solution: Maintain thick, pourable consistency
4. Yellowish Idlis
Cause: Old urad dal
Solution: Always use fresh dal
Expert Tips for Perfect Idlis
- Use cold water while grinding to avoid overheating
- Always grind urad dal first, then rice
- Batter should be thick but pourable
- Do not disturb batter too much after fermentation
- Steam on medium heat—not high flame
Variations You Can Try
Once you master basic idli, experiment with variations:
Rava Idli
Made with semolina instead of rice—nofermentation required.
Vegetable Idli
Add grated carrots, beans, or peas to batter.
Kanchipuram Idli
Spiced version with pepper, cumin, and curry leaves.
Millet Idli
Healthier alternative using millets instead of rice.
Nutritional Benefits of Idli
Idli is one of the healthiest breakfast options:
- Low in calories
- Rich in protein
- Easily digestible
- Fermented (good for gut health)
- Gluten-free
Perfect for all age groups—from kids to elderly.
Why Idli is Perfect for Daily Diet
In my professional experience, idli stands out because it is:
- Light yet filling
- Oil-free
- Quick to digest
- Suitable for weight management
It provides sustained energy without heaviness.
Final Thoughts
Making perfect idli is not difficult—it just requires understanding the process. Once you get the basics right, it becomes second nature.
As a chef, I always say: Respect the fermentation. That’s the soul of idli. Everything else is just technique.
The beauty of idli lies in its simplicity. With just rice, dal, and patience, you can create something incredibly nourishing and delicious.
So the next time you prepare idli, don’t rush. Enjoy the process—from soaking to steaming. Because great food is not just about taste—it’s about the care you put into it.
If you want, I can also create:
- A step-by-step video script
- SEO blog version
- YouTube description
- Or Instagram reel content