How to Make Cheesecake: A Complete Guide for Beginners and Enthusiasts
Cheesecake is one of those desserts that feels luxurious and comforting at the same time. Its creamy, velvety texture and subtle sweetness have made it a favorite around the world. Whether you’ve enjoyed a classic New York–style slice at a bakery or tried a no-bake version topped with fresh fruit, cheesecake always leaves an impression.
But for many people, the idea of making cheesecake at home can feel intimidating. After all, it’s not just cake—it’s a delicate balance of dairy, eggs, sugar, and a crust that has to come together perfectly. If you’ve ever wondered how to make cheesecake, this guide will walk you through the process step by step, from ingredients and preparation to baking techniques and troubleshooting common mistakes.
By the end, you’ll not only know how to bake a cheesecake but also how to make it your own with flavors and toppings.
Understanding the Basics of Cheesecake
Before diving into the recipe, it’s helpful to understand what cheesecake actually is. At its core, cheesecake is a custard-based dessert. Unlike regular cakes, which rely on flour for structure, cheesecake gets its body from eggs and cream cheese. This is why it’s dense, creamy, and smooth instead of light and spongy.
There are two main types:
- Baked cheesecake – The classic method, baked gently in the oven, often in a water bath to prevent cracks.
- No-bake cheesecake – A quicker version set in the refrigerator using whipped cream or gelatin for stability.
In this article, we’ll focus primarily on the baked cheesecake, but we’ll also touch on the no-bake version for those who want something simpler.
Ingredients You’ll Need
The beauty of cheesecake lies in its simplicity. Most recipes use just a handful of ingredients. Here’s what you’ll typically need for a classic baked cheesecake:
For the Crust:
- 200 g (about 2 cups) crushed graham crackers or digestive biscuits
- 100 g (7 tbsp) unsalted butter, melted
- 2 tbsp sugar (optional, depending on sweetness of crackers)
For the Filling:
- 900 g (about 4 cups) cream cheese, at room temperature
- 200 g (1 cup) granulated sugar
- 4 large eggs, at room temperature
- 1 cup sour cream or heavy cream
- 1 tsp vanilla extract
- 1 tbsp lemon juice (optional, for brightness)
For Topping (Optional):
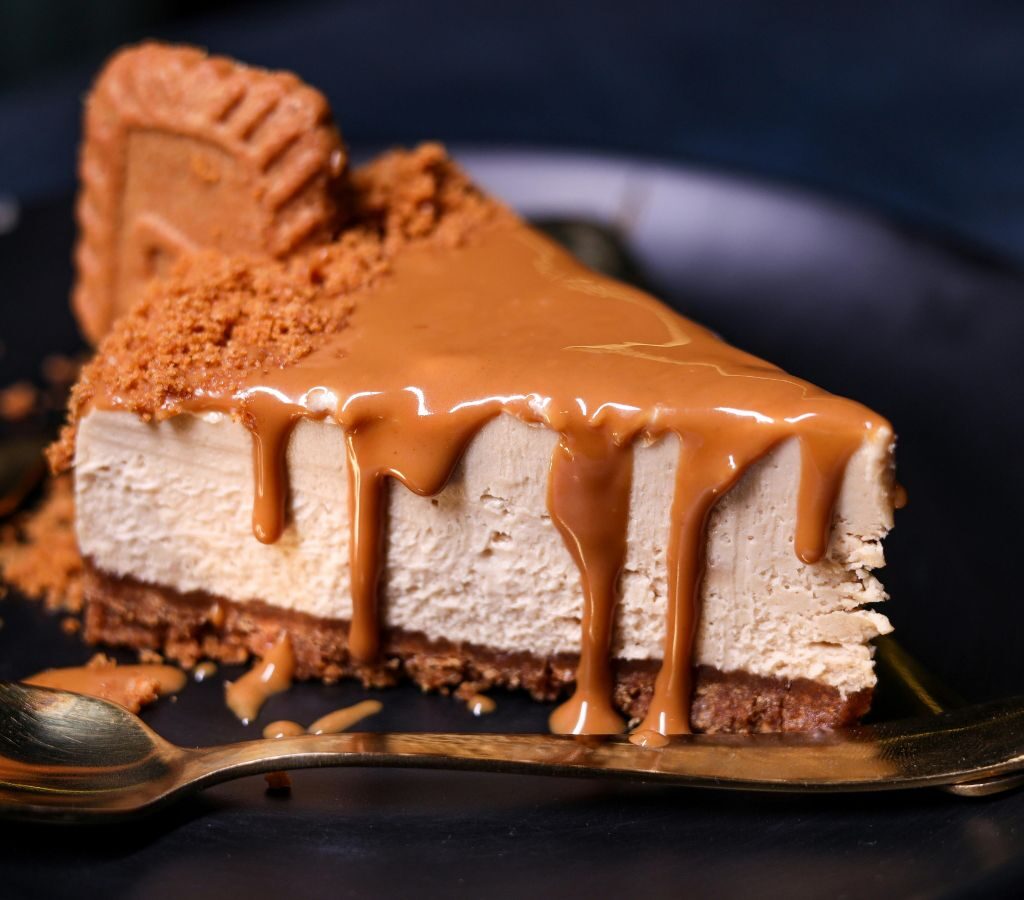
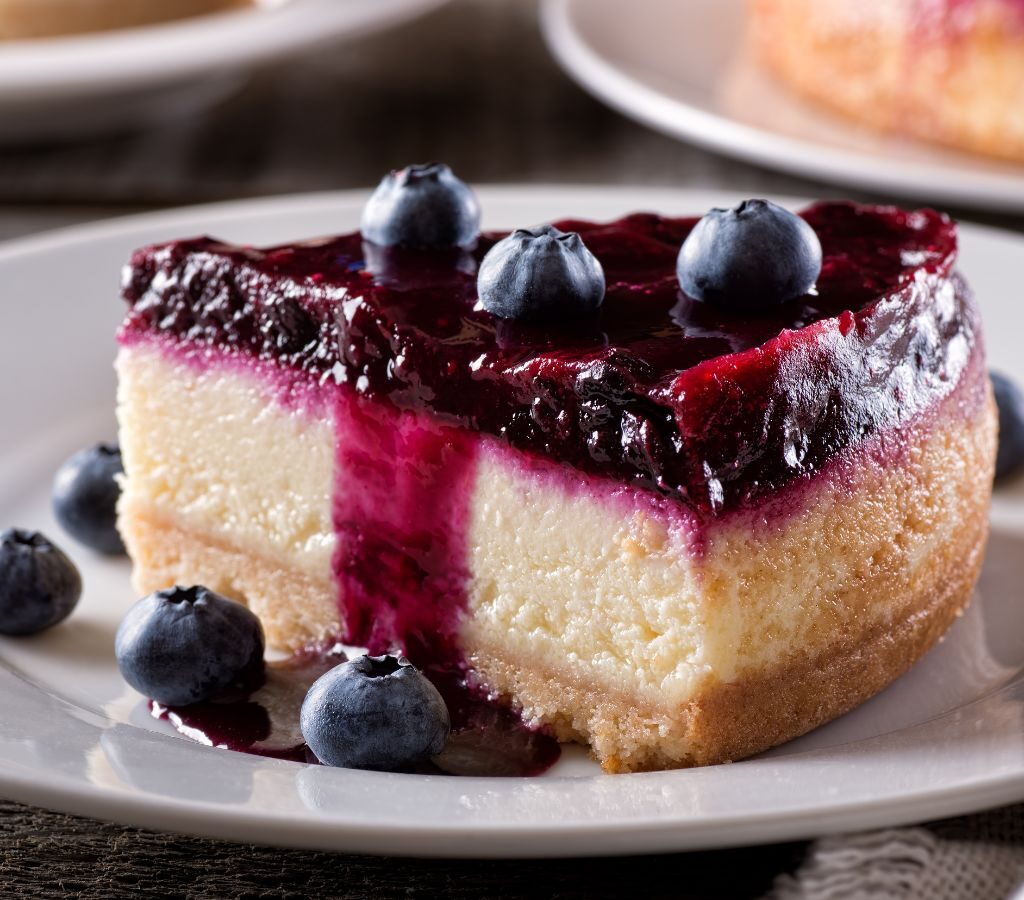
- Fresh berries, fruit compote, or chocolate ganache
- Whipped cream
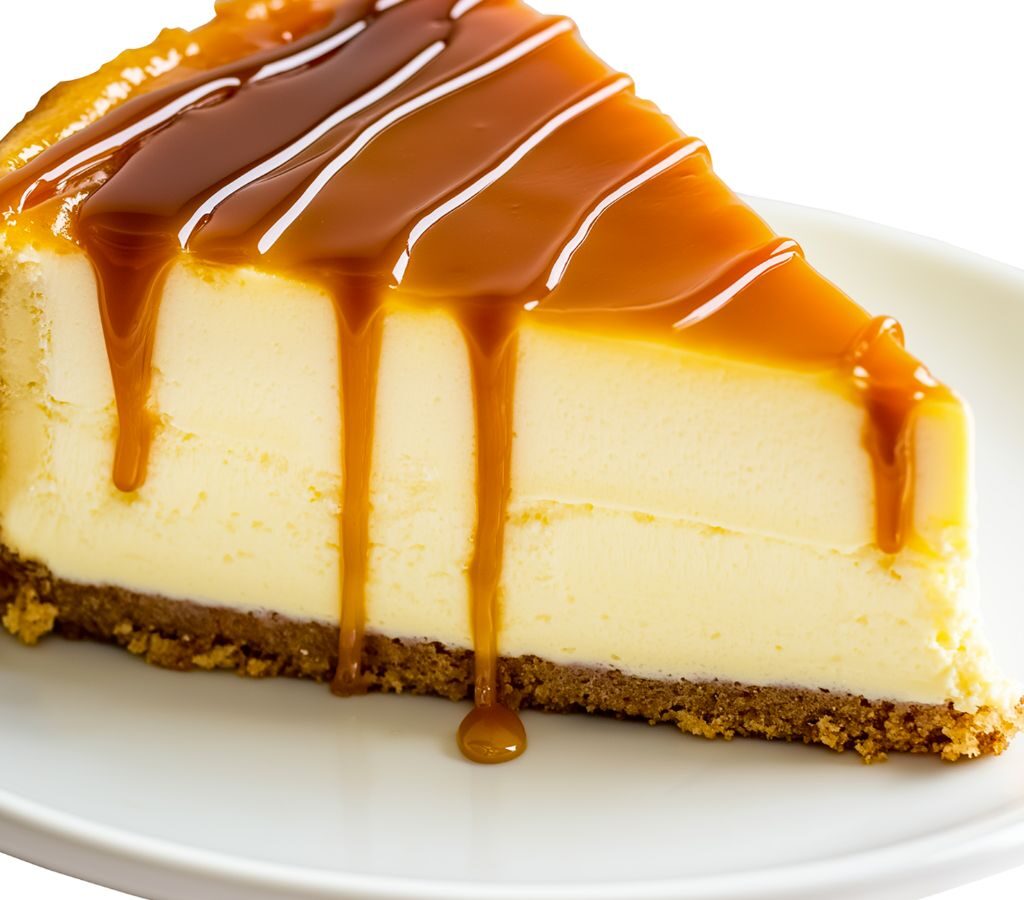
- Caramel or fruit sauces
Step-by-Step Process
Step 1: Prepare the Crust
The crust forms the foundation of your cheesecake. Most classic recipes use graham crackers, but you can substitute with Oreos, digestive biscuits, or even ginger snaps for a spicier twist.
- Crush the crackers into fine crumbs using a food processor or by sealing them in a plastic bag and rolling with a rolling pin.
- Mix the crumbs with melted butter (and sugar if needed) until the texture resembles wet sand.
- Press the mixture firmly into the bottom of a springform pan. Use the back of a spoon or a flat-bottomed glass to ensure it’s even and compact.
- Bake at 175°C (350°F) for 8–10 minutes, or just until set. Let it cool while preparing the filling.
Step 2: Make the Filling
This is where the magic happens.
- Beat the cream cheese until smooth and lump-free. Room temperature cream cheese is crucial here—it ensures a silky texture.
- Add sugar and continue mixing until well combined.
- Beat in the eggs one at a time, mixing gently after each addition. Overmixing incorporates air, which can cause cracks.
- Stir in sour cream (or heavy cream), vanilla, and lemon juice. The mixture should be smooth, creamy, and pourable but not runny.
Step 3: Assemble and Bake
- Pour the filling over the cooled crust, spreading evenly.
- Place the springform pan inside a larger roasting pan. Fill the outer pan with hot water about halfway up the cheesecake pan. This “water bath” helps the cheesecake bake evenly and prevents cracks.
- Bake at 160°C (325°F) for about 60–70 minutes. The cheesecake should be mostly set but slightly jiggly in the center.
- Turn off the oven, crack the door open, and let the cheesecake rest inside for an hour. This slow cooling process helps prevent sudden shrinkage and cracking.
Step 4: Chill and Serve
- Remove the cheesecake from the oven and let it cool completely on a wire rack.
- Refrigerate for at least 4 hours, but preferably overnight. This allows the flavors to meld and the texture to firm up.
- Before serving, top with fruit, whipped cream, or any garnish of your choice.
No-Bake Cheesecake Variation
If baking feels daunting, a no-bake cheesecake is a wonderful alternative.
- Prepare the same crust as above and chill it instead of baking.
- For the filling, beat cream cheese with sugar and vanilla, then fold in whipped cream. For extra stability, some recipes add gelatin.
- Spread the filling into the crust and refrigerate for at least 6 hours, or until firm.
This version is lighter, softer, and perfect for warm days when you don’t want to use the oven.
Common Mistakes and How to Avoid Them
Even experienced bakers sometimes struggle with cheesecake. Here are a few common issues and solutions:
- Cracks on the surface – Usually caused by overmixing, overbaking, or rapid cooling. Always mix gently, bake in a water bath, and let it cool slowly.
- Lumpy filling – This happens if cream cheese isn’t at room temperature. Always let ingredients warm up before mixing.
- Soggy crust – Make sure the springform pan is tightly wrapped in foil before placing it in the water bath. Some bakers use a silicone pan liner for extra security.
- Overbaking – A cheesecake should be slightly wobbly in the center when you turn off the oven. It firms up while cooling.
Creative Flavors and Variations
Once you’ve mastered the classic cheesecake, you can start experimenting with flavors. Here are a few ideas:
- Chocolate swirl cheesecake – Add melted chocolate and swirl it into the filling before baking.
- Fruit-topped cheesecake – Use fresh berries, mango puree, or passionfruit pulp as a topping.
- Pumpkin cheesecake – Add pumpkin puree and spices like cinnamon and nutmeg for a seasonal twist.
- Matcha cheesecake – Blend in green tea powder for a Japanese-inspired flavor.
- Mini cheesecakes – Use muffin tins with cupcake liners for bite-sized portions.
Tips for Serving and Storing Cheesecake
- Always use a sharp knife dipped in hot water to slice clean pieces. Wipe between cuts for neat slices.
- Cheesecake can be stored in the refrigerator for up to 5 days. Cover it tightly to prevent it from absorbing fridge odors.
- For longer storage, cheesecake freezes well. Wrap individual slices in plastic wrap and store in an airtight container for up to 2 months. Thaw in the refrigerator before serving.
Read also: How to make Khamman Dhokla?
Why Cheesecake is Worth the Effort
Cheesecake is not the quickest dessert to make, but it is absolutely worth the time and patience. The process itself can feel meditative—mixing, baking slowly, waiting for it to chill. And the reward? A dessert that feels indulgent, elegant, and satisfying. It’s the kind of treat that impresses guests yet feels like a personal victory when you master it at home.
Moreover, cheesecake is incredibly versatile. You can make it rich and dense or light and airy. You can keep it classic or add your favorite twists. Once you learn the basics, the possibilities are endless.
Conclusion
Learning how to make cheesecake is a rewarding experience for any home baker. While it may seem intimidating at first, the process is straightforward when broken down into steps: preparing the crust, mixing the filling, baking gently, and allowing it to chill. With patience and practice, you’ll be able to create cheesecakes that rival those from bakeries.
Whether you stick to the classic New York–style, try a no-bake version, or experiment with creative flavors, cheesecake is a dessert that never fails to delight. It carries with it a sense of celebration and indulgence, making it the perfect treat for both everyday enjoyment and special occasions.
So the next time you crave something sweet, creamy, and unforgettable, don’t just buy a slice—make your own cheesecake from scratch. The first bite of your homemade masterpiece will prove that the effort was more than worth it.